In this article, I’m going to demonstrate how to configure a Virtual Machine(VM) on Google Cloud Platform.
- Create a VM
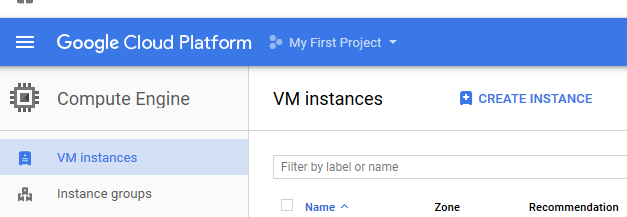
Go to Home->Compute Engine, and “CREATE INSTANCE”

Once an instance is created, it will have two IPs, internal & external. The external IP is dynamically allocated but you can obtain a fixed one ( an static IP is free if it’s attached to an VM, chargeable only if it’s not in use). Refer to below on how to make it permanent
You can then enable SSH access. Refer to on-line help for how to create SSH key; On Windows you use PuttyGen to generate SSH key and Putty to connect to this VM.
- Installing VNC and start it during boot
Refer to below on how to install VNC
https://www.digitalocean.com/community/tutorials/how-to-install-and-configure-vnc-on-ubuntu-16-04
- Configure static IP
Go to “Home”-> “Networking”, Choose “External IP Addresses” and assign the static IP to this VM instance
- Create a new disk and mount
Go to Compute Engine->Disk to add a disk. You can choose size and disk type (traditional disk or SSD). Of course size/disk type have different price tags.
Once disk is created, find it using the following
ls -l /dev/disk/by-id
Find the new disk’s unique ID so that you can mount it later during system boot time:
blkid /dev/sdb
Create the below entry in /etc/fstab so that it’s automatically mounted after system reboot:
UUID=0e9b2dc6-4eb9-47b2-9125-571a1e2aed59″ /media/postgres-data ext4 defaults 0 0
In this case, I mount the disk to /media/postgres-data by using UUID (output from blkid above)
Note, for some reason, it appears this new entry is always cleared once the VM is rebooted, not sure why.
- Access VM via console
Surprisingly Google offers you access to console of your VM. Follow below to connect console. I found it useful because after I modified my /etc/fstab, after reboot, I could not SSH to my VM. I needed to connect to VM via Console to fix my fstab entries!
https://cloud.google.com/compute/docs/instances/interacting-with-serial-console